

After Summer Dance was badly damaged in a freak storm, the first mate and I doubted whether we would get her back in the water before the end of the sailing season. I didn’t know how I was going to fix her, whether I could do the work, or whether our insurance claim would pay enough to have the work done professionally. The DIYer in me wanted to save money and learn how to lay up fiberglass. But looking at the complexity of the damage and how long it would take a novice like me to fix it only reinforced the reality that if we wanted to sail again this year, the damage would have to be repaired by professionals.
Like a good neighbor, indeed
I’m very pleased with how State Farm Insurance handled our claim. The day after the storm, I reported the damage to their central claim center. The next day, our agent called to offer any help we needed to get the boat somewhere safe. I was then able to go to my account online and find the claim that was started. I wasn’t able to upload pictures of the damage due to problems with their website but I was able to send them by email. When I called the claim representative that was assigned to our claim, he was friendly, sympathetic, professional, and a former sailboat owner himself. He was able to review the pictures and understood the technicalities of the damage both to the deck rim and to the sailing hardware.
I only had to submit one repair estimate. The same claim representative discussed it with me by phone, line by line. As it turned out, the repair estimate was about $100 less than the high side of the NADA average value of the sailboat. He explained that under most circumstances like this, they would consider the damage a total loss. But he agreed to settle for the full amount of the estimate, I think, because I explained to him all of the work that I had done. We received the check a couple of days later, six days after the storm.
Major kudos to State Farm!
Handing over my baby
I was able to find a local shop that specializes in repairing boats, Custom Fiberglass. When I trailered Summer Dance to the shop for an estimate, it was clear that they know what they’re doing. Half a dozen other boats of various sizes and degrees of damage (also from the recent storms) were being worked on. The owner, Rod Tomsha, was not surprised at the damage and described with confidence how they could repair Summer Dance so that, “You won’t even be able to tell.” I was half optimistic, half skeptical.
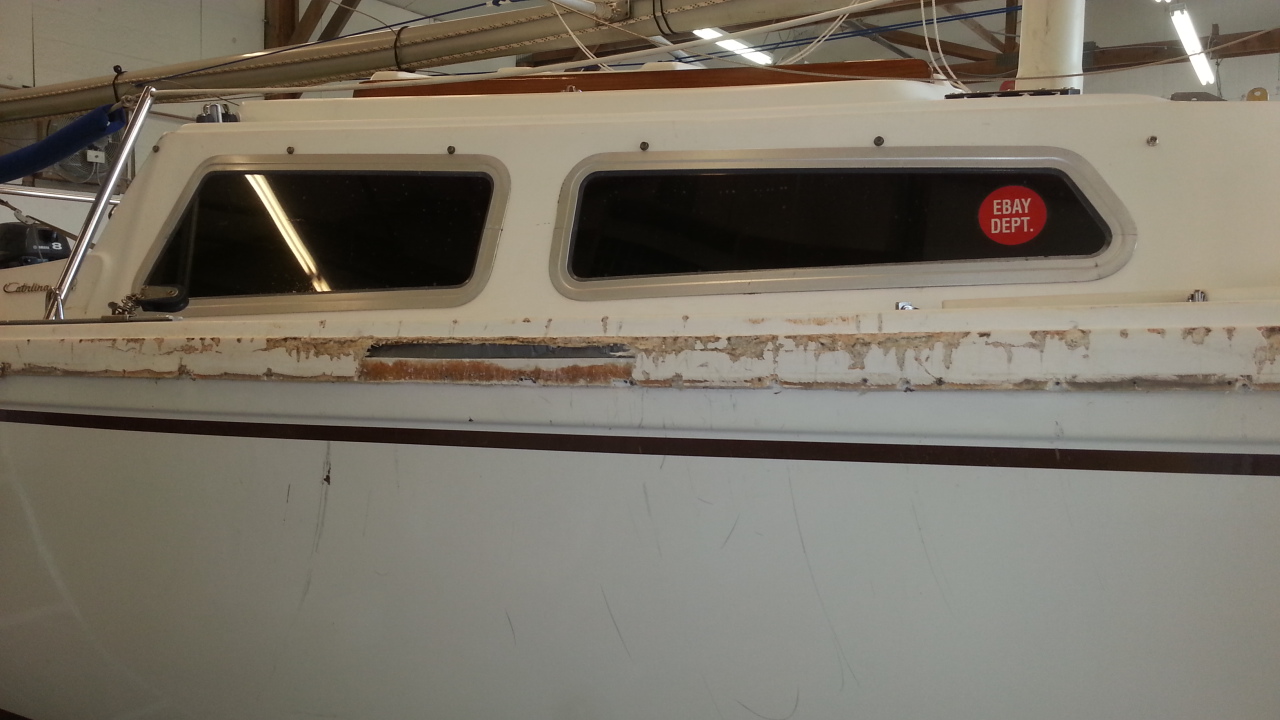
The damaged fiberglass was about 6′ of the deck rim at midships right up to the deck curb. Thankfully, the deck’s non-skid surface and wood core were not damaged. The repaired rim would need to be sealed watertight to the underlying hull. A longer section of the rubrail mounted on the rim had been sheared off and also needed replaced.
Under the knife saw
They began work by temporarily fairing the damaged area with a soft body filler topped with a rough coat of gelcoat.
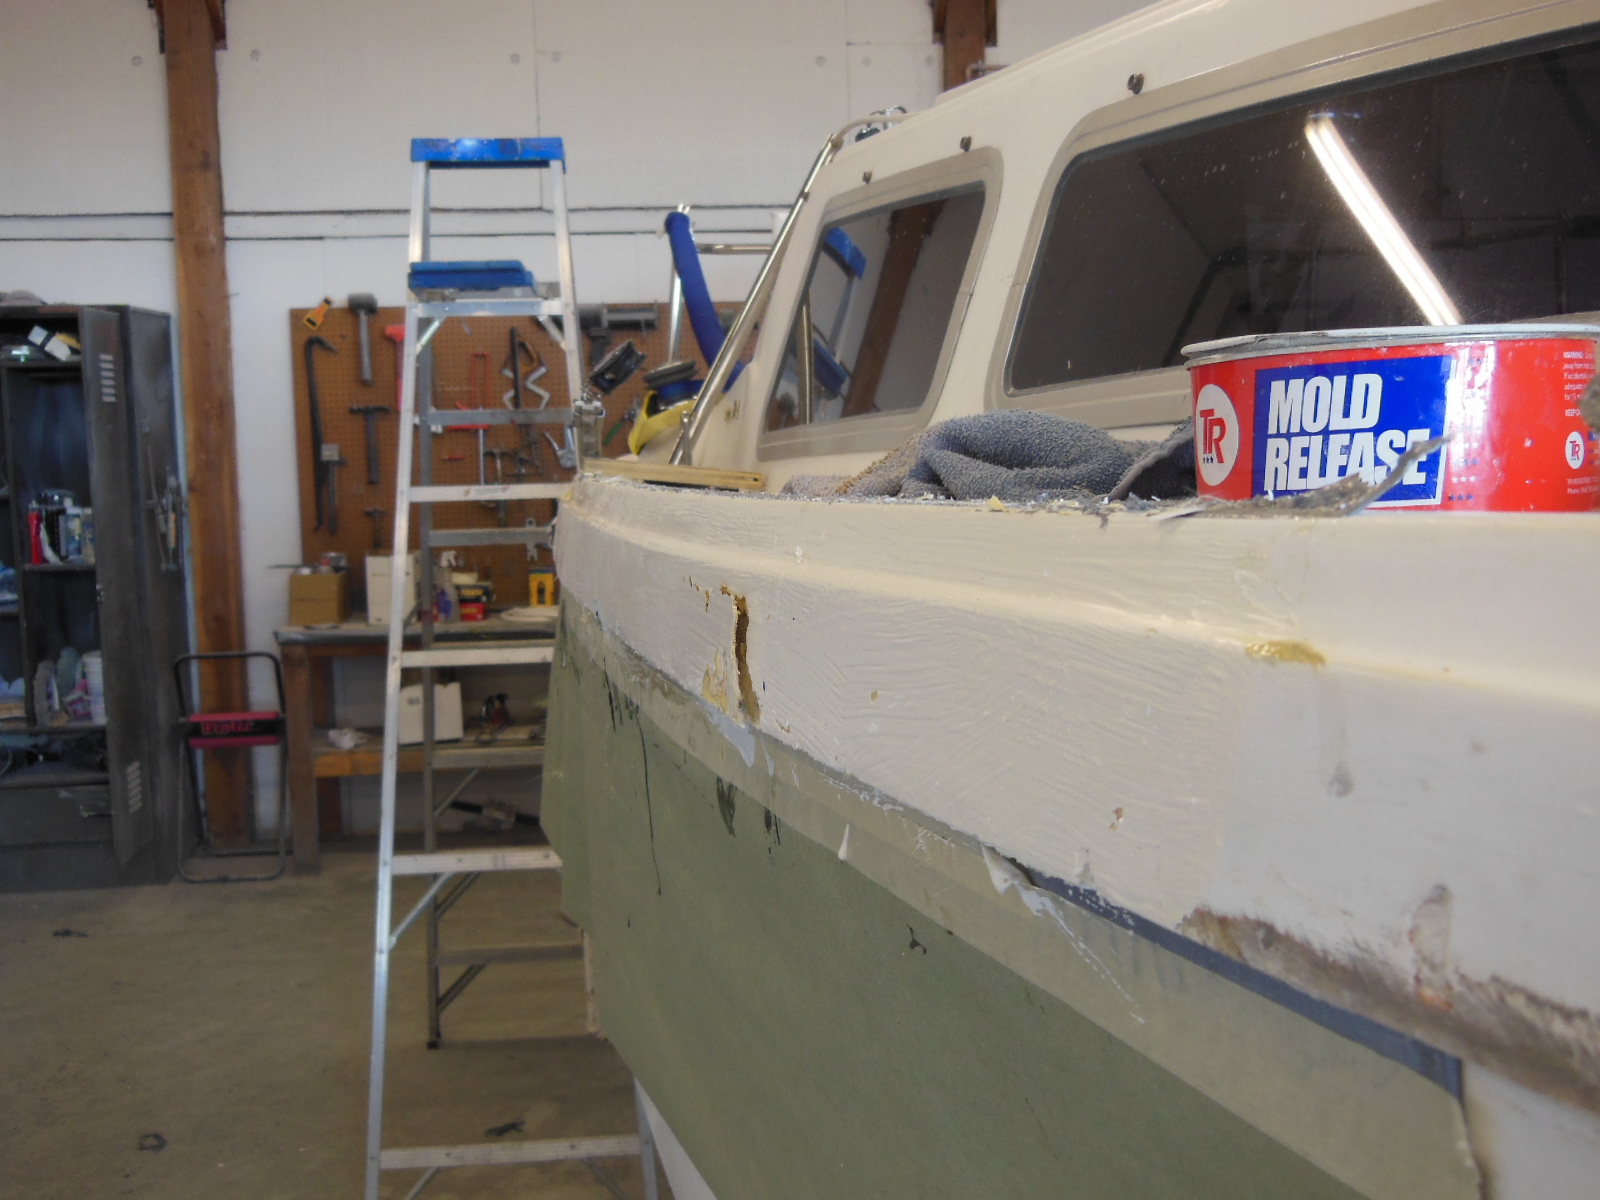
Over this, they applied mold release and then built up several layers of fiberglass to form a single-use mold.

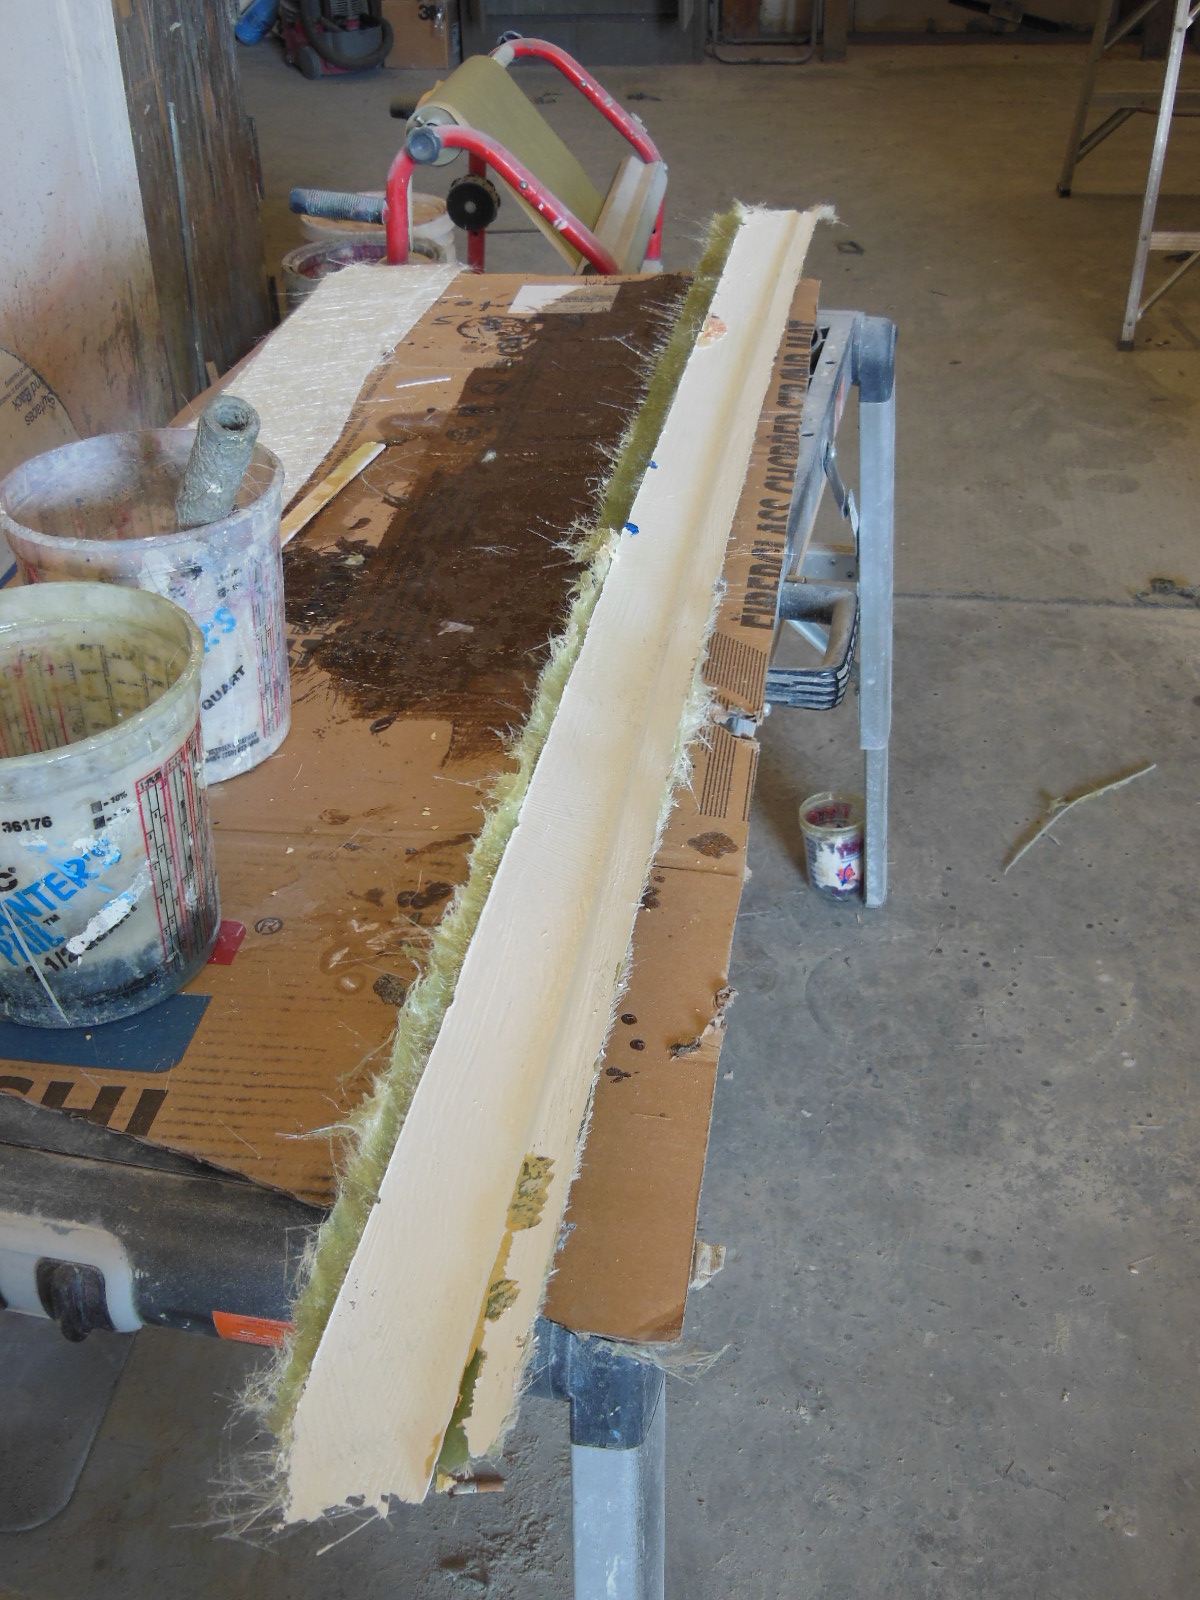
They pulled the mold off and faired it before laying up a fiberglass panel to replace the damaged area.
They cut out the damaged section of the deck rim and ground away the surrounding gelcoat to create plenty of area on which to bond the new panel.

They cut the newly molded panel to fit the cutout and screwed it into place with plenty of fiberglass resin to fill in any voids while they lined up the profile corners and edges.

After the fiberglass had cured, they removed the screws, filled the holes, and sanded them smooth with the surrounding surfaces.

After shooting a coat of primer over the repaired area, it was hard to see any signs of a repair.

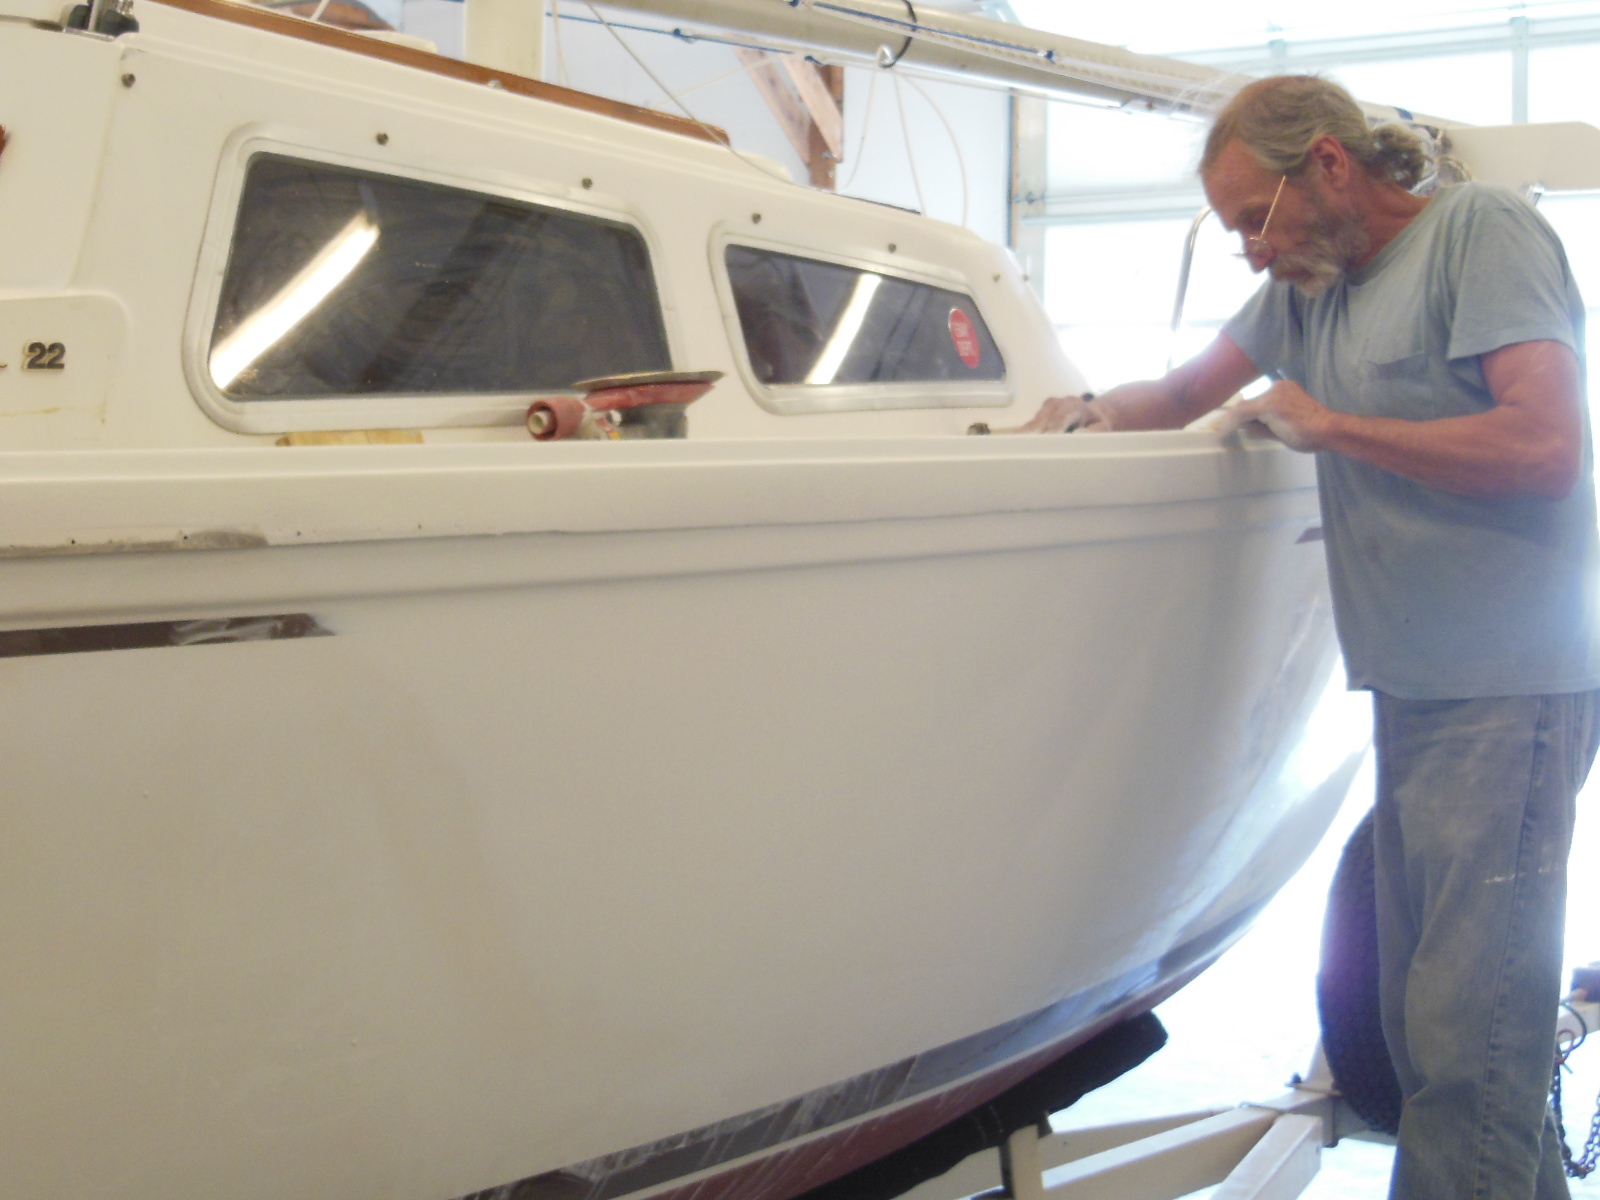
The final step was to spray a generous layer of new gelcoat over the entire repair area and then sand and buff it smooth.
Repairing the rubbed off rubrail
To replace the damaged rubrail, I was lucky that a certain Catalina parts dealership had some remaining pieces of original, extruded aluminum railing left on their Garage Sale page. Together with a new vinyl insert, the rubrail looks like nothing happened. It’s funny to me that the original rubrail insert was brown to match the brown cove and boot stripes but had faded to gray. Since I’m converting the colors to blue, I ordered a gray vinyl insert, which matched the faded brown insert exactly!
Rounding out the repairs
The two midship lifeline stanchions were bent inboard. They were removed, the bases flattened again, and rebedded. The genoa lead car was bent in places but was reshaped and a new thumbscrew installed. The starboard bow cleat was twisted but did not pull through the deck, fortunately. It was easily repaired by rebedding it.
This post is only part 1 of 2 posts about the storm damagge repairs. Large patches of bottom paint had been knocked off by the pounding waves. A complete bottom refurbish was necessary. That work will be the focus of a future post that is part 2.
Looking at the damaged area now, Rod was right. If I didn’t know what had happened, I couldn’t tell there was a repair, and we were able to cruise in Summer Dance two weeks later.
The Bottom Line
Suggested price: $2,329
$tingy Sailor cost: $0
Savings: n/a
Have you had insurance work done on your boat? How did it turn out?

looking good it broke my heart when i saw the storm video looks like you are well on your way to making her as good as new