

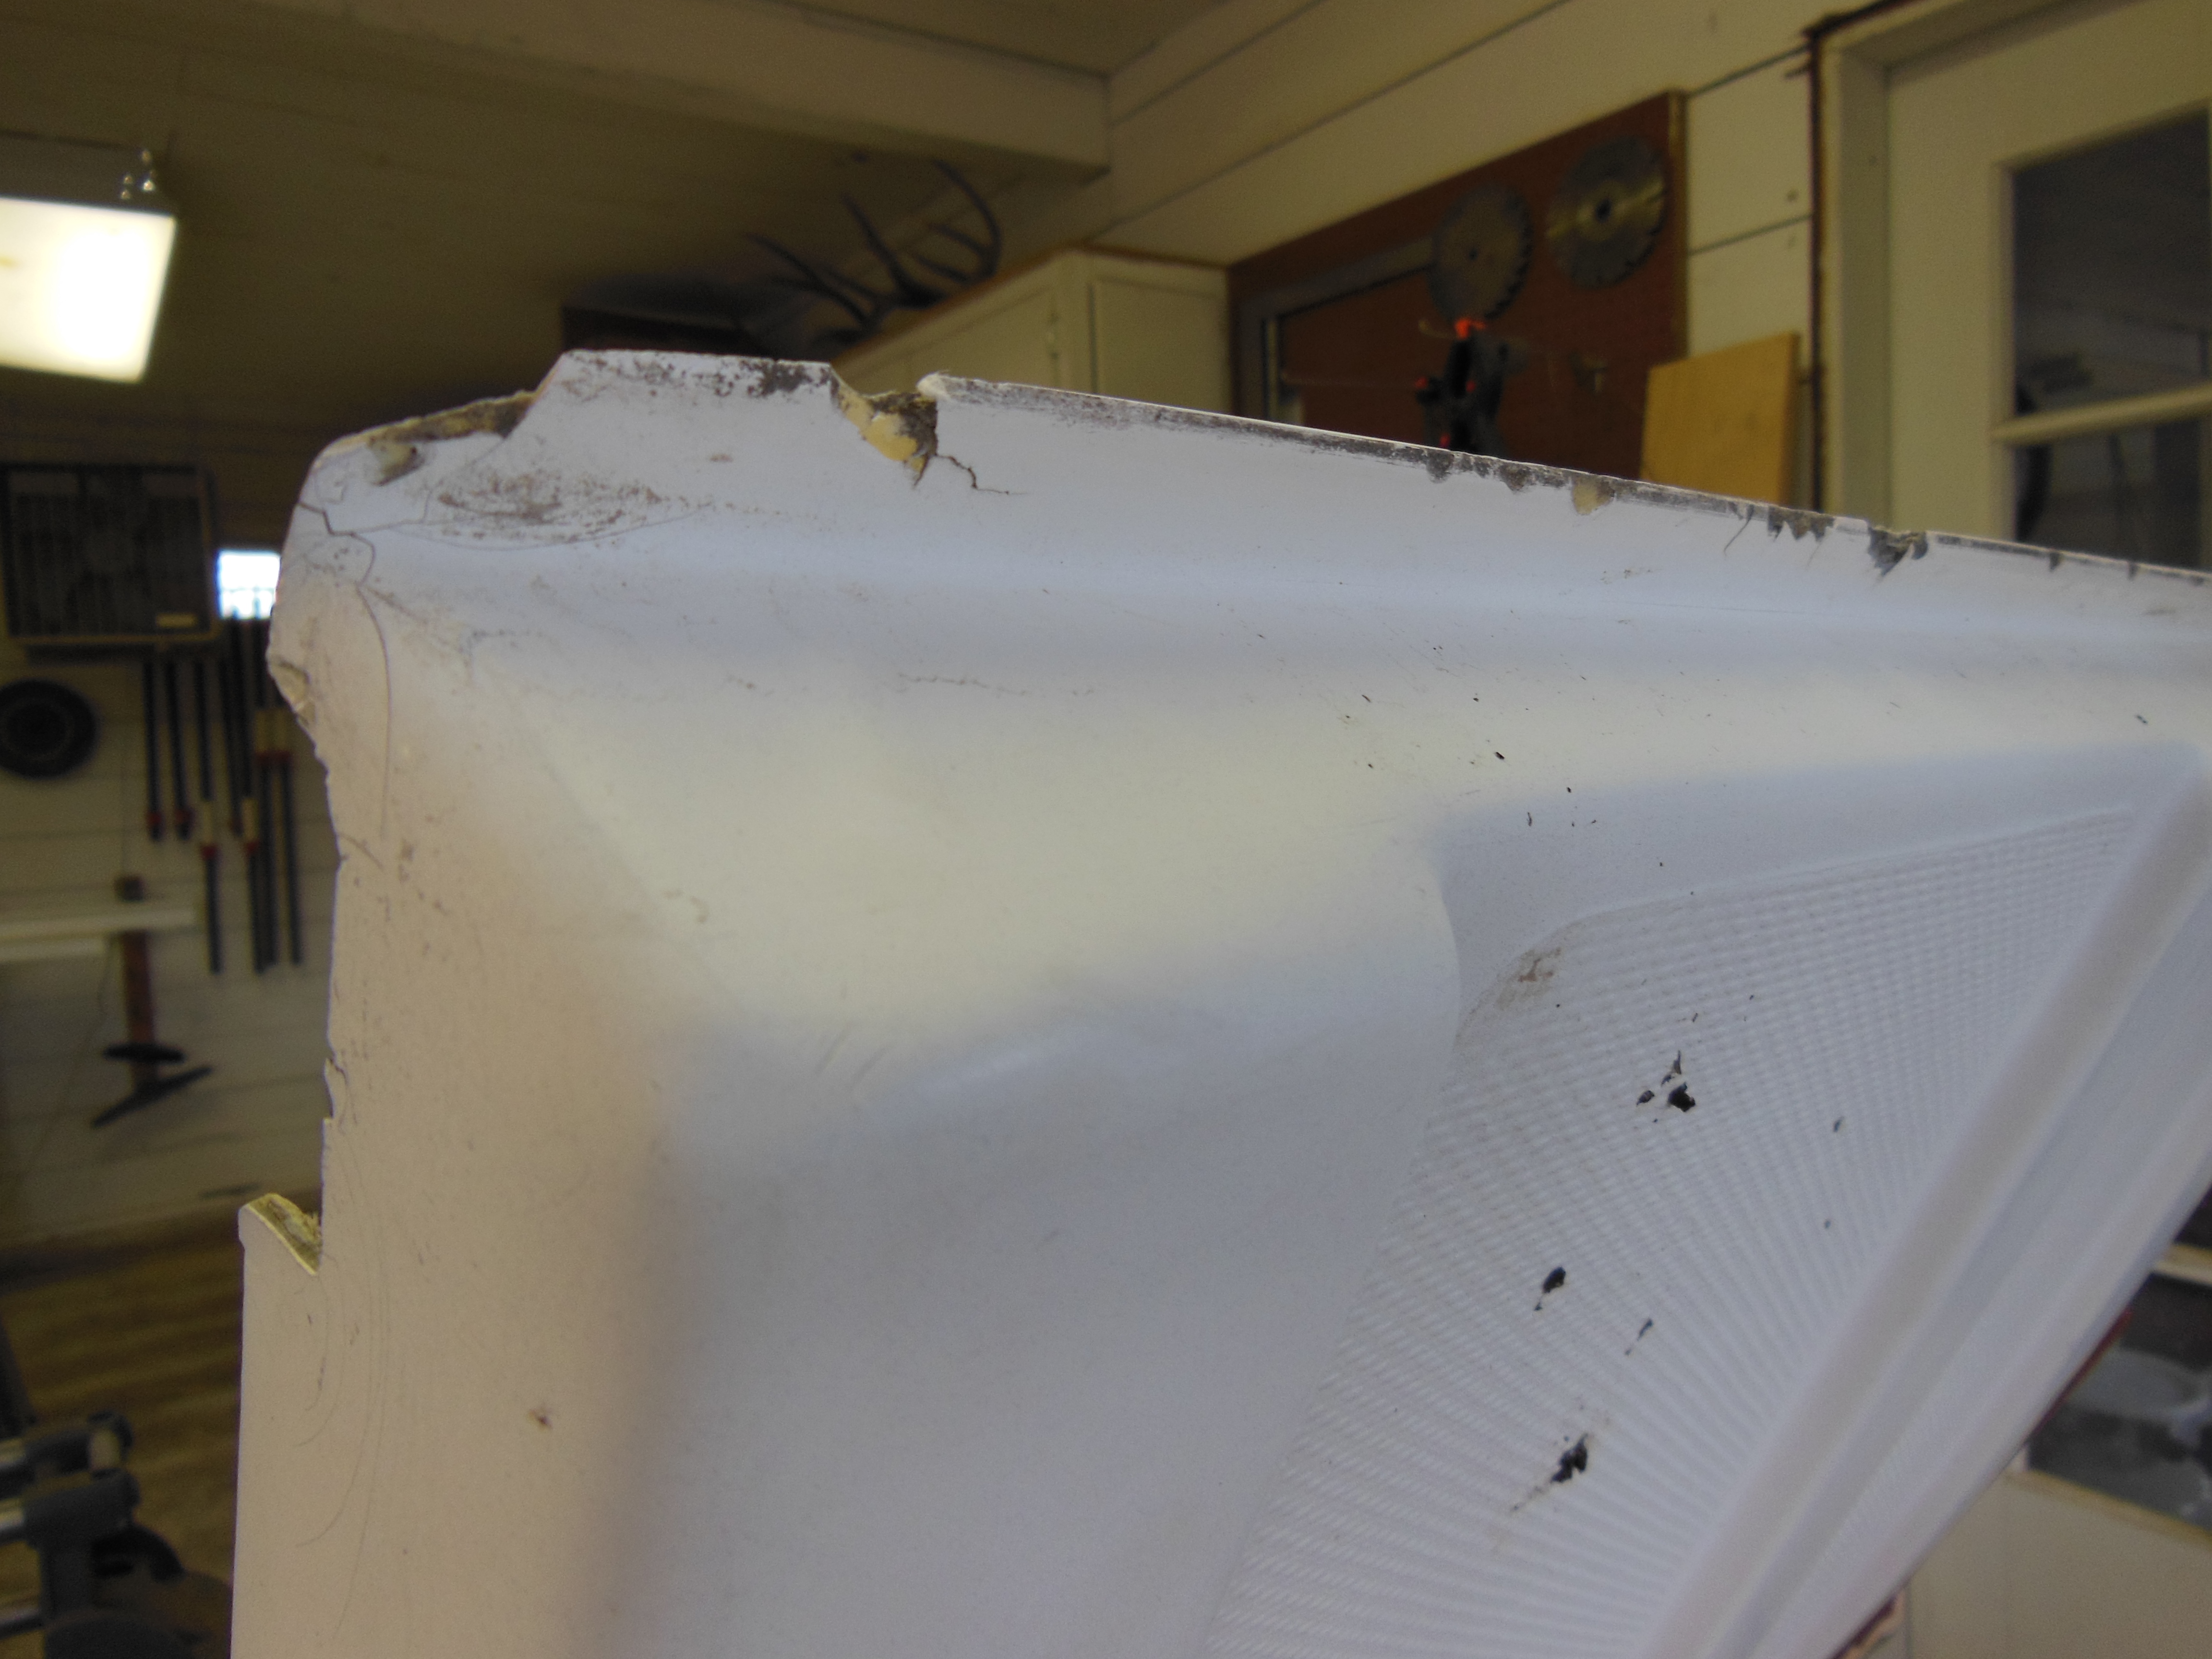
Like many older C-22s the sliding hatch of Summer Dance made screeching sounds when it was slid open and closed. The noise comes from the front edges of the hatch scraping on the side rails and on the cabin top. The front edges scrape because the side flanges wear thin from years of use, lose their clearance, and allow the hatch to ride lower in the side rails. The thinner they get, the more scraping and screeching. Too thin and they start cracking from the stress of weight on the hatch when standing on the hatch to handle the sails.
The permanent fix is to either replace the hatch if you can find another one (they aren’t available from a certain Catalina parts dealership) or to rebuild the edges of the hatch with fiberglass or epoxy, which I later did. But we didn’t have time for that before our first launch. I did want to reinforce the edges somehow and stop the screeching.
Use what you have on hand
My first thought was to glue 1/8″ thick ultra high molecular weight (UHMW) plastic strips to the edges to raise the center of the hatch and restore the clearance. UHMW is super slick and is used to create very low friction surfaces. Woodworkers like me use it on table saw fences and other fixtures to make wood slide easier through their machines. I didn’t have any on hand but I did have something similar, iron-on Melamine edging. I use it on the edges of Melamine particle board from which I make jigs and fixtures in my woodshop. The edging comes in rolls a little over 3/4″ wide and has heat sensitive adhesive already applied on one side. Heating it with a clothes iron melts the adhesive while you press it onto the board edge. After it cools, it’s easy to trim and shape with normal tools to look like a factory made edge.
After cutting a strip in two lengthwise and cleaning the hatch edges with Acetone, the Melamine ironed on to the fiberglass easily. I used an old no-steam iron that I keep for this purpose and for waxing skiis.
The whole process took only about 30 minutes including removing and replacing the hatch. The Melamine makes the hatch easier to slide and eliminated almost all of the noise, good enough until I can rebuild the edges properly.
Since this post was first published, I’ve replaced this fix with as described in Fix That Screeching Main Hatch!
The Bottom Line
Replacement cost: n/a
$tingy Sailor cost: $0
Savings: n/a
How have you fixed your screeching hatch?
