

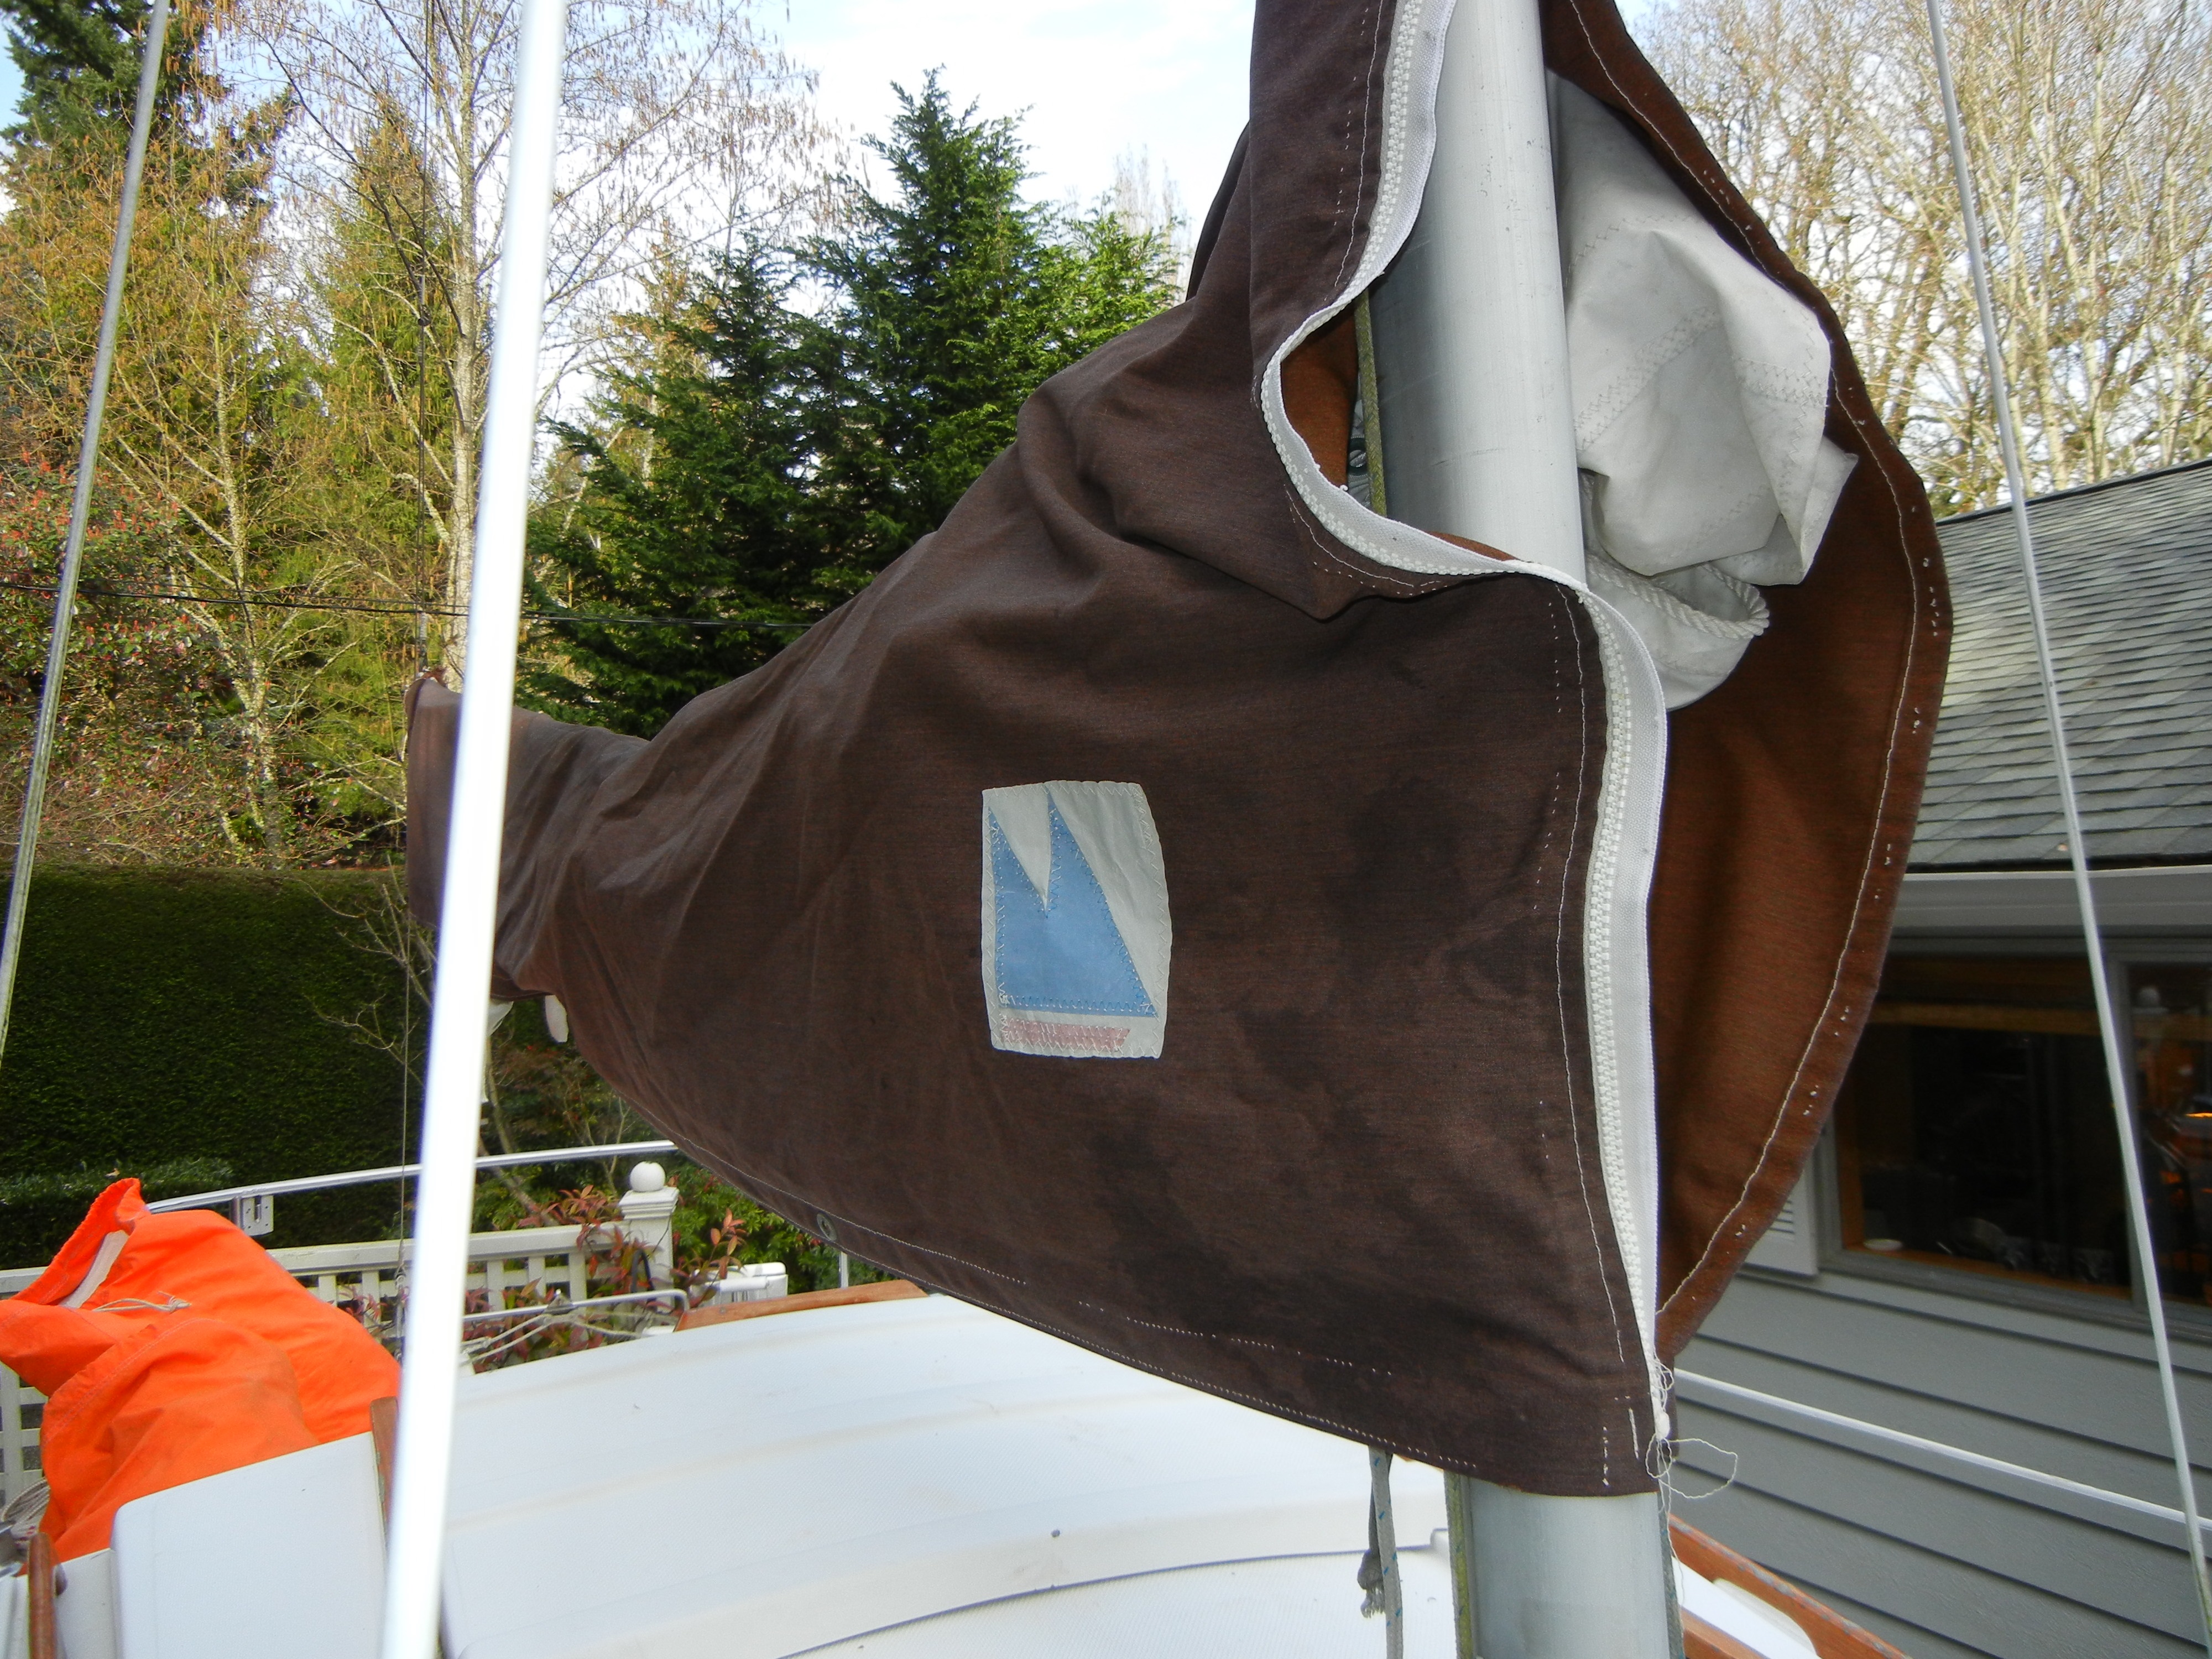
Summer Dance didn’t have much in the way of canvaswork when we bought her: an original mainsail cover and an old outboard engine cover that also looked pretty ghetto. Besides being 1980’s brown in color, the canvas of the mainsail cover was faded and shredded in places, much of the stitching had disintegrated, and the zipper had come almost completely loose. It was unsalvageable but it did work as a pattern to sew a new cover out of Sunbrella, the gold standard of marine canvas.
The mainsail cover was my very first canvas sewing project. I used it to get the feel of working with canvas and to practice sewing with our standard New Home sewing machine. If you already have a home sewing machine, it will probably work okay for up to several layers of canvas, depending on the thickness. Four yards of canvas was more than enough for me to make a 10′ mainsail cover and a new outboard engine cover with remnants left over for smaller projects. I ordered the canvas from SailRite along with the V-92 White UV Bonded Polyester Thread, YKK #10 White Separating Molded Tooth Zipper, hook and loop fastener tape around the mast, and twist fasteners for under the boom.
I took the old cover apart at the seams, laid out the parts on the new canvas, and traced around them with a soapstone pencil, also from SailRite. I cut the parts out with scissors but later, when I made the cabin cushion covers, I discovered how much better a hotknife works for cutting synthetic marine canvas like Sunbrella. Instead of the edges unravelling, they fuse solid. That not only makes them easier to work with and prevents getting pieces of thread everywhere, it also ensures that they won’t come loose after years of use and abuse. Rather than buy an expensive industrial hotknife, I made my own hotknife solution.
The rest of this project was simply sewing it together in the same way as the old cover and installing the twist fasteners and the end tie. SailRite has plenty of how-to videos on all of the necessary steps including a video on making a mainsail cover from start to finish using one of their kits. If you don’t have an old cover to use as a pattern, I recommend a kit. I purchased one for a foredeck sail bag.
The only other thing you will need is practice at making long, straight, consistent seams and sewing around corners through numerous layers of canvas. A magnetic sewing guide really helps out. Rather than buy one, I made my own out of a scrap of hardwood and a couple of rare earth magnets. I also highly recommend using Seamstick to hold the pieces together as you sew. It helps a lot too.
The mainsail cover project only took a leisurely evening to make and it turned out great. It’s tough, too. Mine was put to an extreme test during the freak storm that heavily damaged Summer Dance. The mainsail cover came through with no significant damage and it protected our mainsail from certain destruction.
Gentlemen, start your sewing machines!
Give making your own canvas gear a try. And for the guys out there, don’t fall for the stereotype excuse that men don’t sew. Plenty of sailmakers are men and they perfected their chops on projects like this. When you juice it down, it’s about plans, materials, fasteners, and power tools; all things that DIY guys (and gals) like. Even if you’re all thumbs when it comes to pointy needles, this is a project that you can do together with your first mate or a friendly seamstress.
If you’re like me, you’ll be surprised at how easy it is and go on to make other projects like an outboard engine cover, cabin cushion covers, crib board storage bag, lifeline cushions, foredeck sail bag, bimini cover, tiller cover, winch covers, and more. For some truly ingenious canvaswork ideas, check out Don Casey’s 100 Fast and Easy Boat Improvements.

If you like this project, then you’ll really like my ebook Do-It-Yourself Small Sailboat Canvaswork. It contains a dimensioned drawing for this project and eight more canvaswork projects as well, all for only $20 USD. Click the picture at right to order your copy for immediate download and get started today!
Would you like to be notified when I publish more posts like this? Enter your email address below to subscribe to this blog and receive notifications of new posts by email. You will also receive occasional newsletters with exclusive info and deals only for subscribers and the password to the Downloads page. It’s free and you can unsubscribe at any time but almost nobody does!

I am looking at a bimini like you found on the web. The link you gave is great. Also, there are other sellers of the same bimini’s that seem affiliated. I just want to know if the bimini dimensions worked out fine on your Catalina 22, and if the framing was stout enough. Thanks!!
Gary G.
Thanks for your question, Gary
The dimensions that I ordered worked out fine. The width was just right for mounting on tracks outside the coamings. The length was just right to cover most of the cockpit but still leave space to see the windex. With the tracks, I can slide it forward and aft to cover different areas of the cockpit depending on our needs.
The height that I ordered was too tall but I knew it would be. At the time that I ordered, there wasn’t a shorter bimini at the same low price and I wanted to cut it down to the maximum height without hitting the boom. I wound up cutting 7″ off of the main bow, 5″ initially and another 2″ later. That lowered it by about 6″ to about 40″ high or 4″ higher than the standard 36″ high recommended for C-22s. So, I wound up with about 4″ inches more headroom, which makes a big difference. Depending on how tall you are, if you can’t stand up under your bimini when it’s opened, that gets old in a hurry and you might avoid using the bimini at all. The only downside to this has been that I also raised where the front bow connects to the main bow and that changes the geometry of the bows when folded and makes the boot harder to zip closed, no biggey. If I had to buy a replacement now, I would just get a 40″ high bimini or the closest thing to it and cut it down less if necessary.
The 1″ frame has proven to be strong enough so far but it still flexes more than SS. It easily weathered that storm I described in one of my posts but the bimini was closed at the time. I don’t think any bimini would have survived if it were open. In my opinion, frame strength is overrated. What the bimini attaches to the rest of the boat with is the weaker link and more important. Most biminis are secured with straps both fore and aft. Those don’t provide a lot of safety even with SS frames. My bimini is braced at the rear with support poles, which helps a little more. The mounting hardware for these biminis is plastic, so they’re inadequate if you want to use the bimini frame as a safety handhold. I do hold onto it sometimes when walking around it at anchor but I wouldn’t trust it while under sail, which wouldn’t be smart anyway. You could replace the plastic parts with SS hardware if you want more insurance.
Bottom line, I would buy it again. I can’t see spending $400-$600 on one.
Great idea. As soon as spring arrives here in Minnesota the work on a new mainsail cover will begin. Thanks so much for your well designed and informative website. You are slowly morphing my Catalina 22 in to a great boat…..Kudos to you.
Thanks for all of your amazing tips! What do you normally do with your sail if you’re trailering out? Flaking it into the mainsail cover and then using the boom + mainsail-in-cover as a gin pole for lowering the mast is a stretch, I assume? Thanks!
I usually have it flaked on the boom in the mainsail cover so I disconnect the tack and lines, snap and zip the cover back together around the mainsail, and move the whole thing into the cabin. If I’m not going to use the boom as a gin pole, I leave it snapped around the boom and move that whole thing below.